This pattern is for sale at my Craftsy Store.
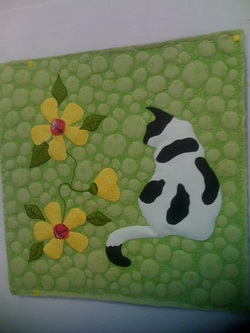
Just click the picture to take you there...then you can follow these directions for a step by step to make it! Very easy, as you can see.
Step One
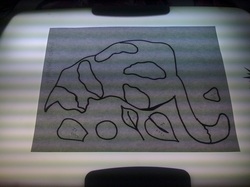
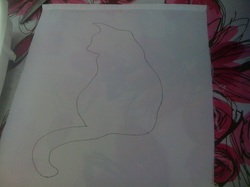
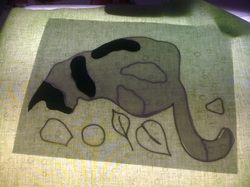
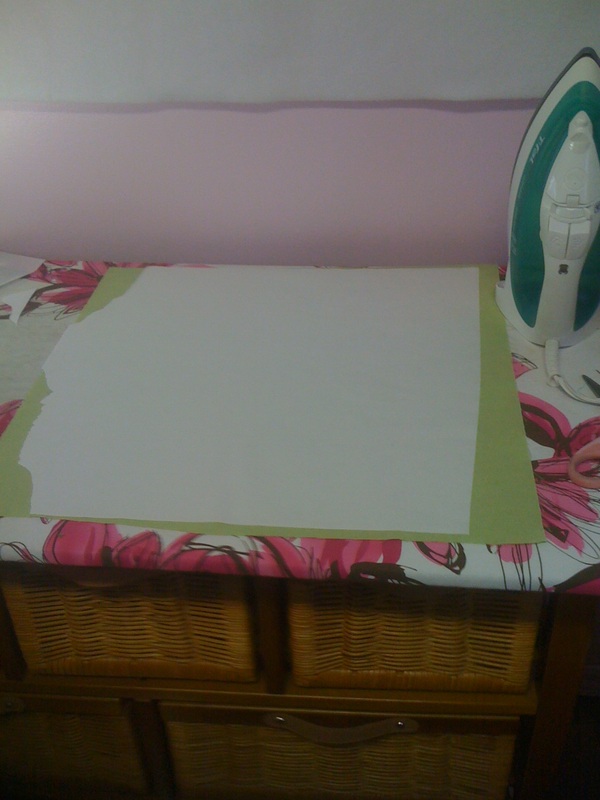
Lay your pattern on a light box or tape it to a window frame. If you have a glass table...stick a lamp under it and you have the perfect light box!
I lay my fabric piece right on the light box...
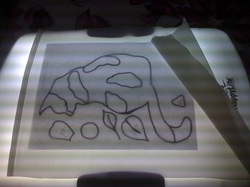
and with a fine tipped sharpie or other pen I trace the pattern outline right onto the fabric No worries...the stitching will cover all the marks and no one will know :)
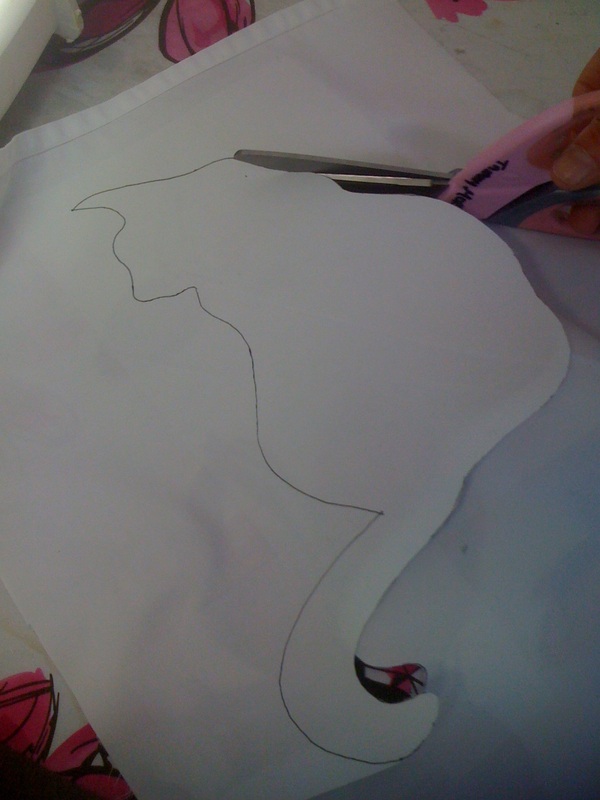
Almost ready to cut out
Iron some heat and bond or steam a seam to the back of the fabric and cut out the shape
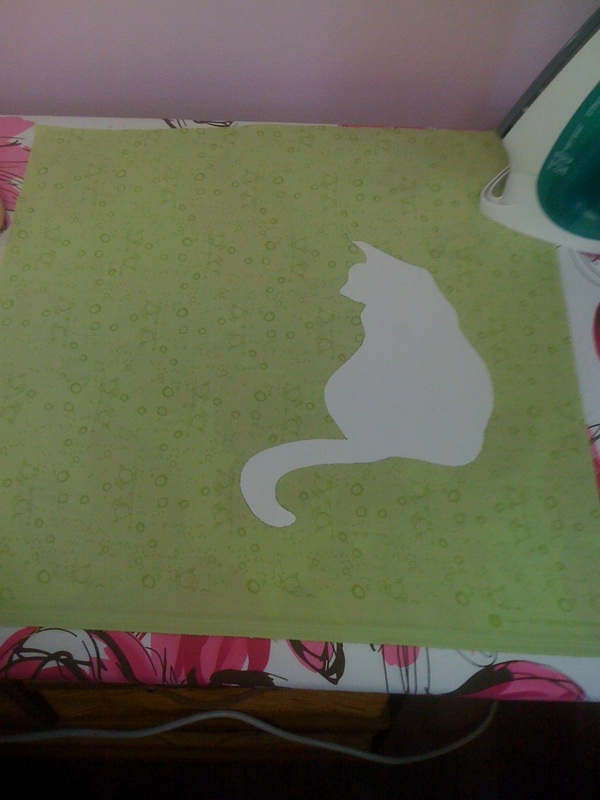
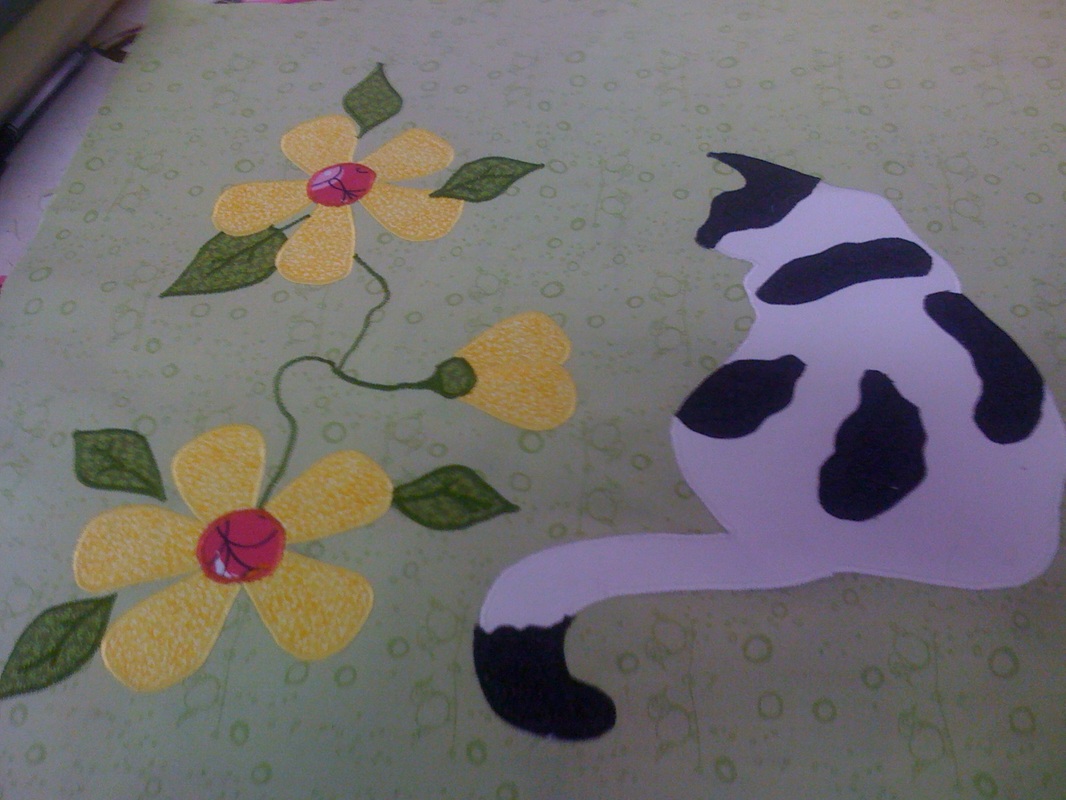
Set it on your background fabric but don't iron it in place just yet...
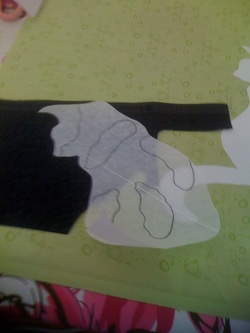
Peel the paper off the back and take the cat shape back to your light box so you can trace the spots...then cut out on the RIGHT side of your fabric...just pin to hold in place

Set it back on your light box, background and all to ensure placement of spots
if you are sure this is where you want the applique on your background, you can iron it on place at this point
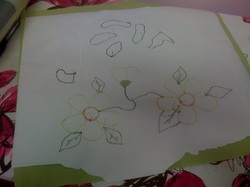
Add leaves and flowers...
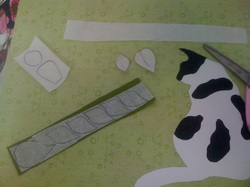
I traced the leaf patterns off the pattern page, and pressed some steam a seam to the back of my green fabric that I will be using for them. For these and the flower petals I simple traced them on to the steam a seam paper on the back of the leaves and cut out. I can do this in this case because it really doesn't matter which way they are facing. If it matters which way the applique faces, you would have to mirror image it first but putting the right side of the pattern cut out against the steam a seam backing before tracing
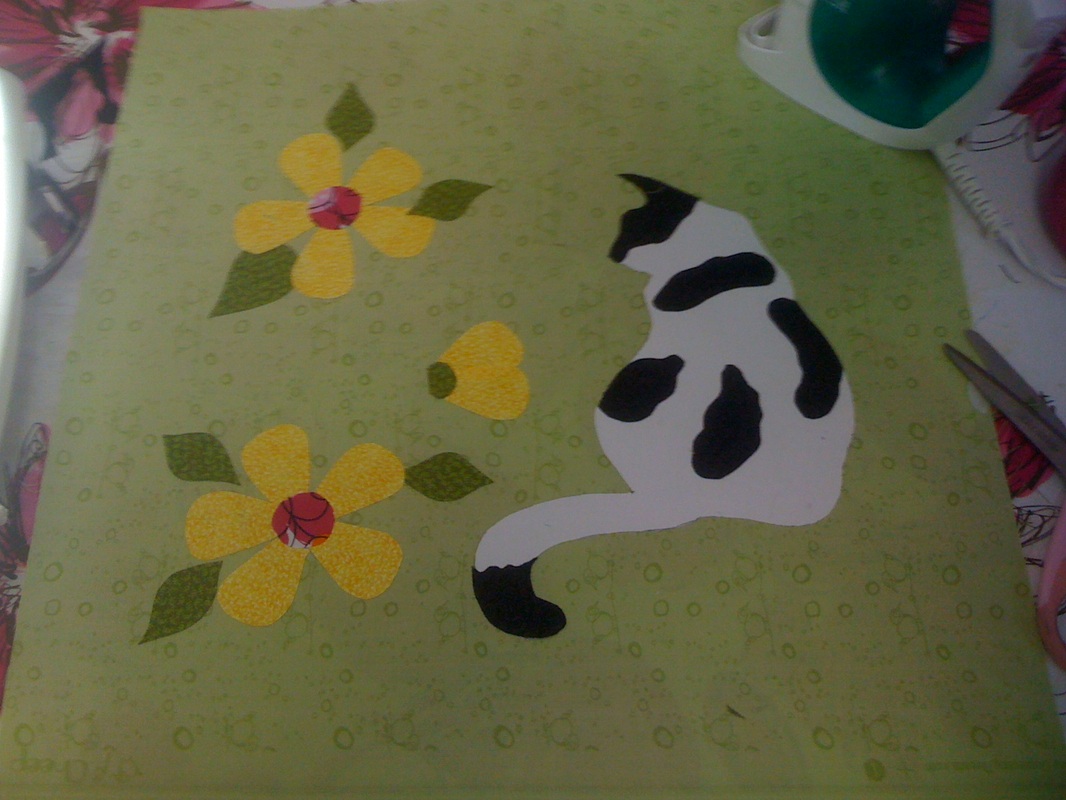
Press all your leaves and petals in place, and then turn your work over.
You are going to iron a piece of freezer paper to the whole back. The freezer paper is to stablize it so that your stiching comes out beautiful and professional looking instead of puckered and terrible.
Now you're ready to stitch it all in place
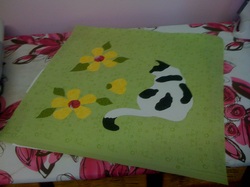
Using a satin stitch or blanket stitch, sew around each applique piece to ensure it is beautiful for many years to come
So this is the back after it is stitched. I used satin stitch for the whole thing this time.
We tear away the freezer paper at this point.
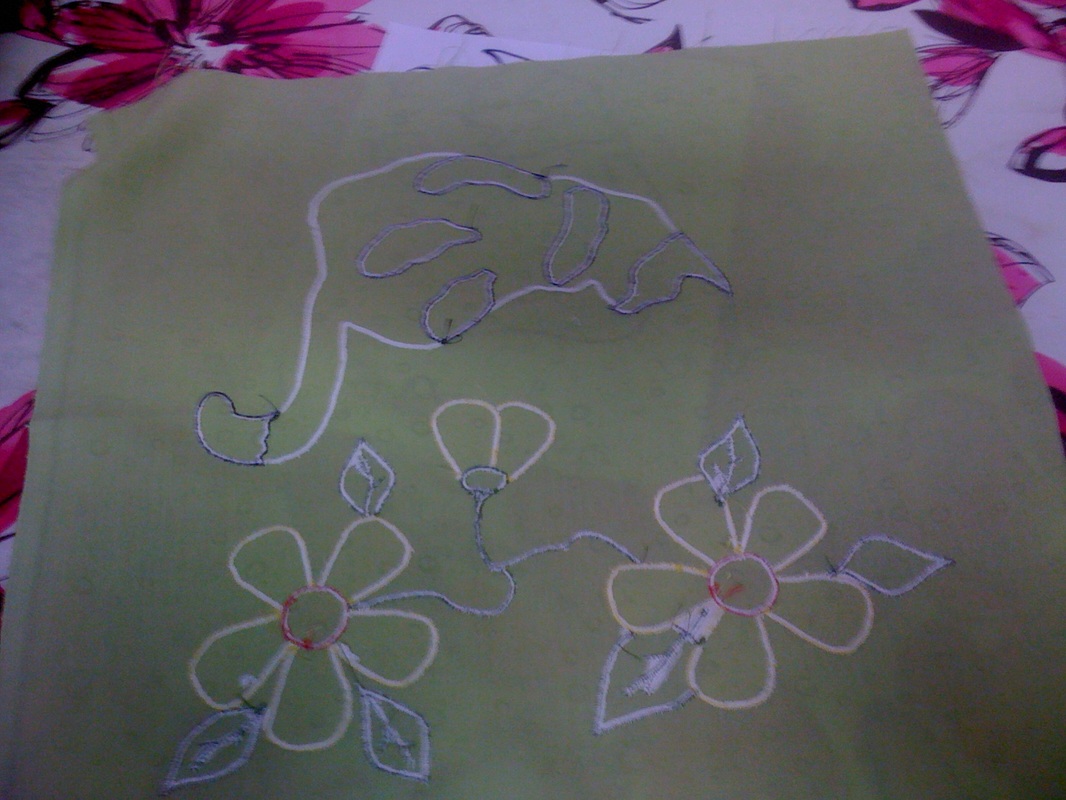
I used my satin stitch to put in the stems. Now on to the quilting...
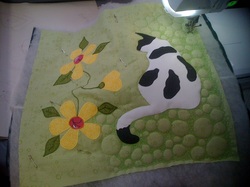
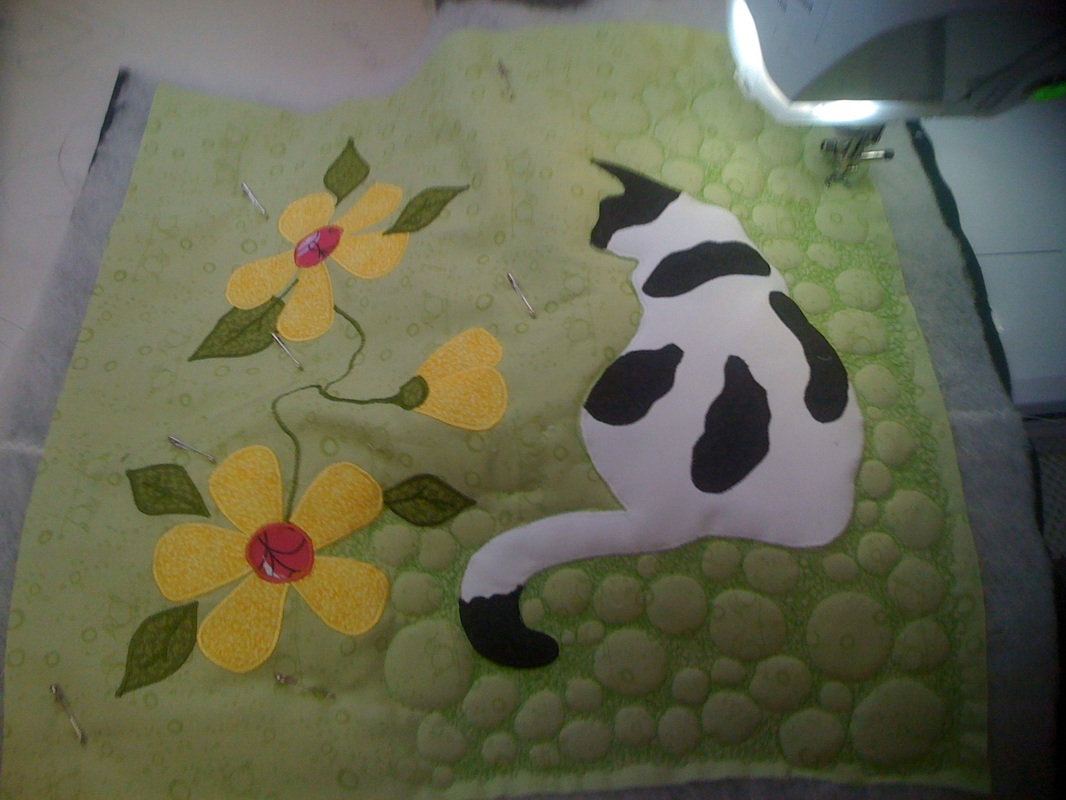
I decided to quilt this one with my Bubbles...I love doing bubbles, they are very easy.
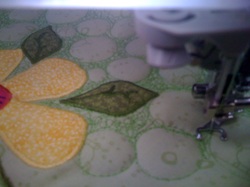
First stitch in your circles...kind of like you would pebbles but bigger, and different sizes...and they don't all touch

Now go back and doodle like crazy between the circles. Doodle until you can see the circles pop off the fabric.
That's how it's done!